StepApp Setup Guide
Every journey has to start with the first step.
Here you can find all the
details how to get the app, install it and setup your account.
Download and install StepApp
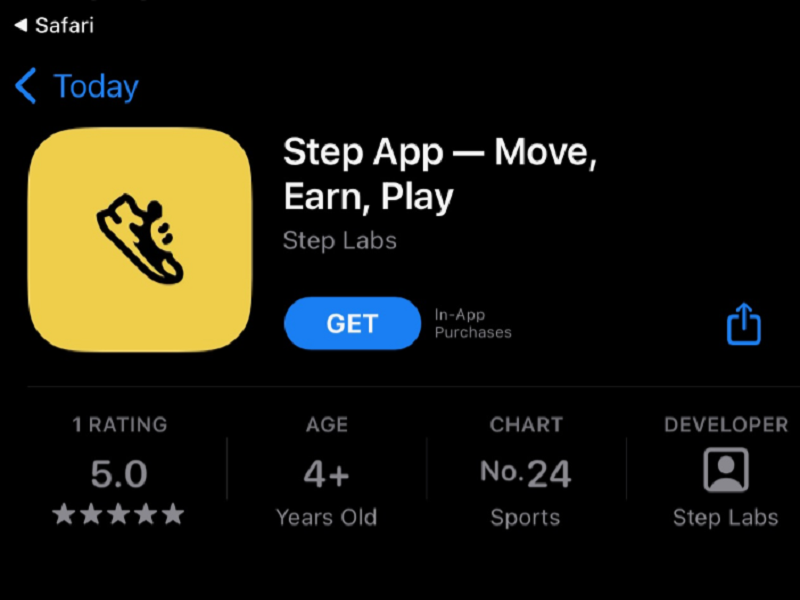
1. Get StepApp from Google Store or Apple App Store
Currently StepApp cannot be directly searched in the Google and Apple stores, so the fastest way to get
directly do download page is to use step.app
site and navigate to download section.
Please note that StepApp is not available in some countries (due to law restrictions).
2. Install and run the app
After your app is installed, go ahead and run it. When launching StepApp for the first time, you will have to create an account.
Setup your StepApp account
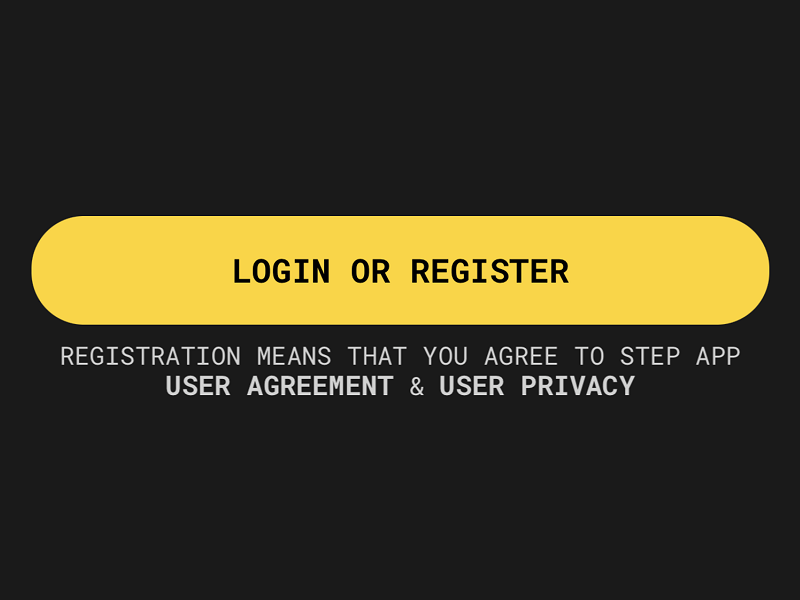
1. Create your new account
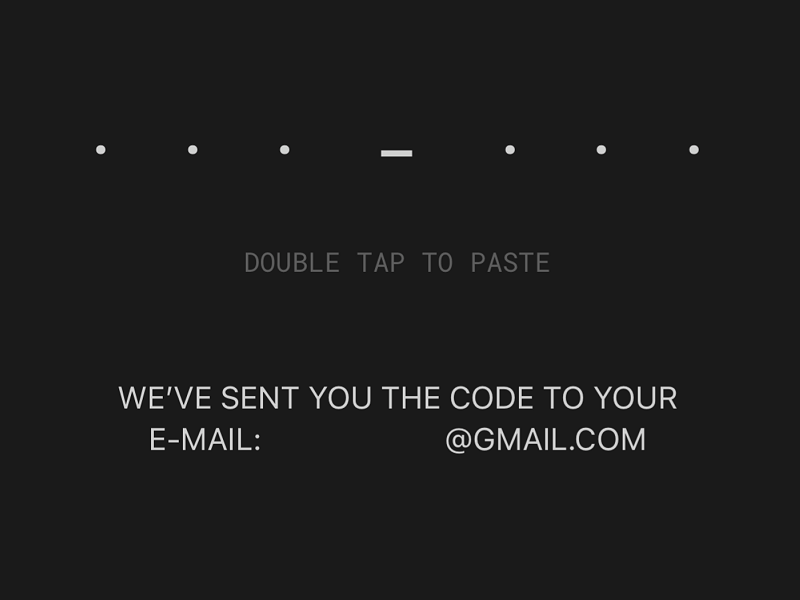
When launching StepApp for the first time, you need to create your account. Just fill in your e-mail
address to get an e-mail with one-time numeric login password.
Please note that the e-mail may
go to SPAM folder in your mailbox, so make sure to check it if the e-mail takes longer than 60 seconds
to be delivered.
2. Fill in one-time password from mail
To login into your new account, you need to fill in the one-time password sent over to you in the e-mail
message.
Please note that you can avoid using the e-mail one-time password in the future by
setting your own password in setting page.
3. Start using the app!
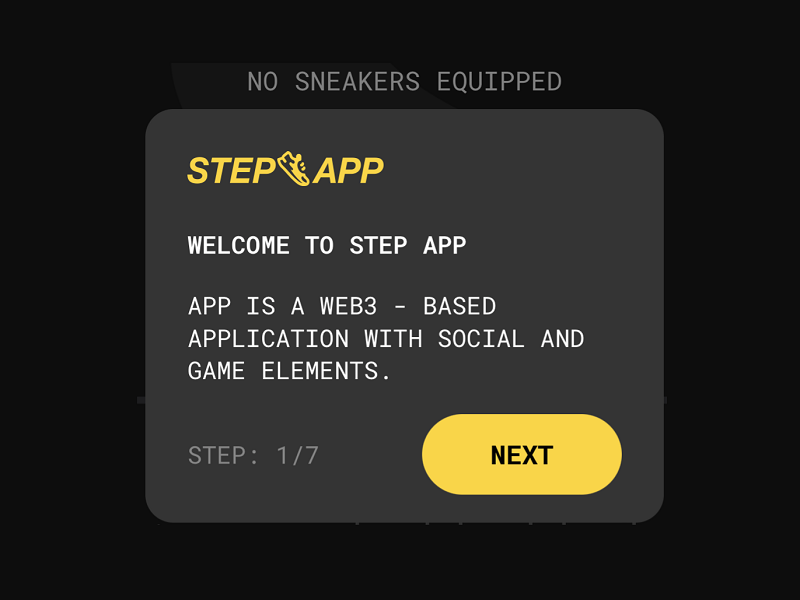
After going through registration and activation process, you can finally use StepApp!
Feel free
to look around, configure your account (you can reserve your username) and check the marketplace. More
details about buying Sneaks NFTs can
befound in Sneaks Guide.
Setup MetaMask
1. Get MetaMask extension for your browser
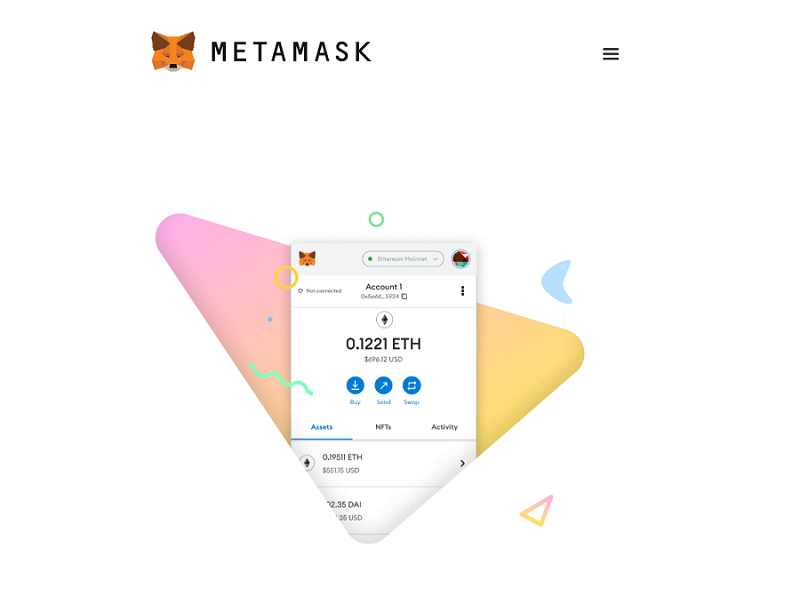
To be able to buy, sell and transfer cryptocurrencies, you need to have a crypto wallet installed. Step
Network works best with non-custodial wallets like Metamask.
Metamask wallet is available as an
extension for brwoser on Destkop and can be also downloaded as an app from Google Store and Apple App
Store.
To get the Metamask wallet, just go to metamask.io
page and go to Download section.
2. Create your first MetaMask account and wallet address
When you have your wallet app installed, you need to create your first wallet account, which will be
associated with on-chain address.
Please set a password and write down your recovery
phrase, preferably using a physical pen and piece of paper. It is not advised to do a
screenshot or save the phrase as image on your computer - you can compare it to leaving keys in the door
to your home.
You can find more details about your wallet address and how to use Metamask in
Google. Just make sure to not approve any transaction with your wallet you're not certain about,
otherwise you may loose your crypto assets.
3. Add Step Network to your wallet
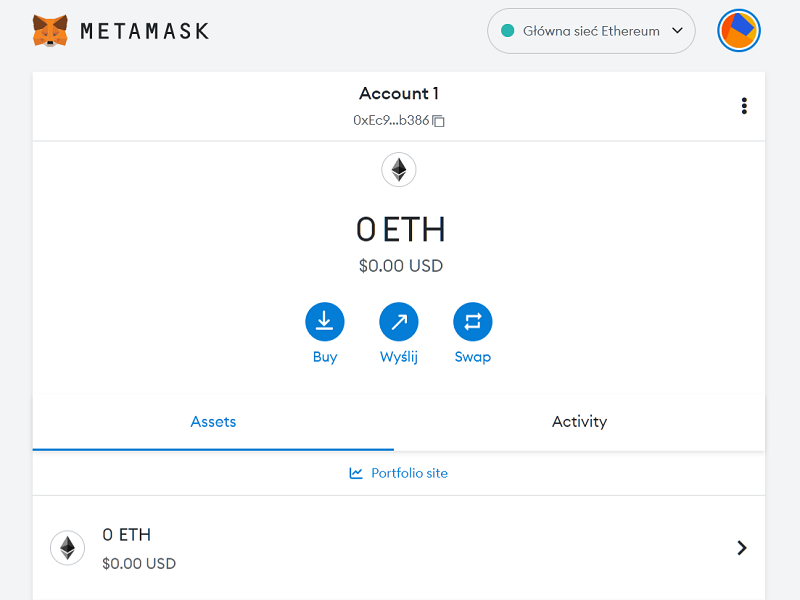
By default, Metamask wallet comes with Ethereum Main network configured. To be able to send FITFI and
KCAL assets, you need to enable Step Network, which is a subnet of Avalanche Chain.
You can
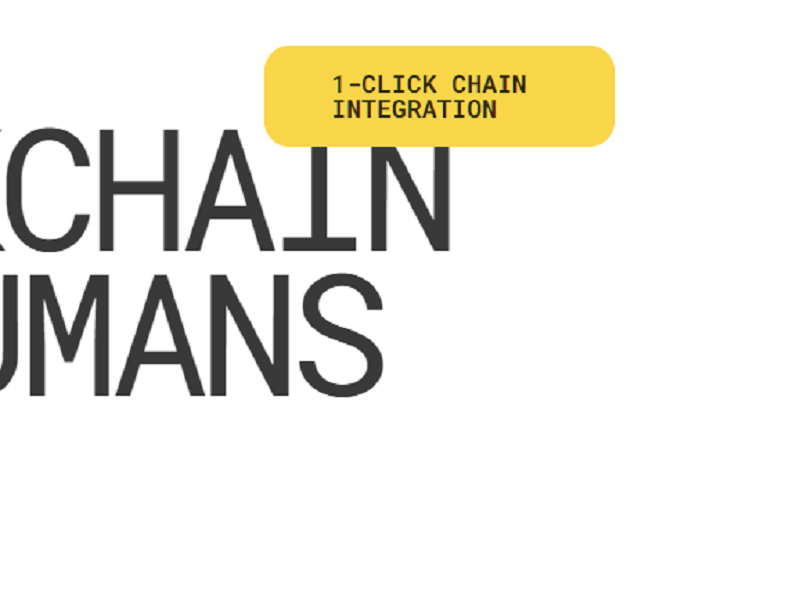
perform this action easily and with just a few clicks: navigate to step.network
site and click the button saying 1-CLICK CHAIN INTEGRATION. Accept the new network - you will be able
now to select Step Network from available networks list.
4. Get FITFI and KCAL tokens
To be able to buy and upgrade shoes, you need to have FITFI and KCAL tokens on your wallet and further
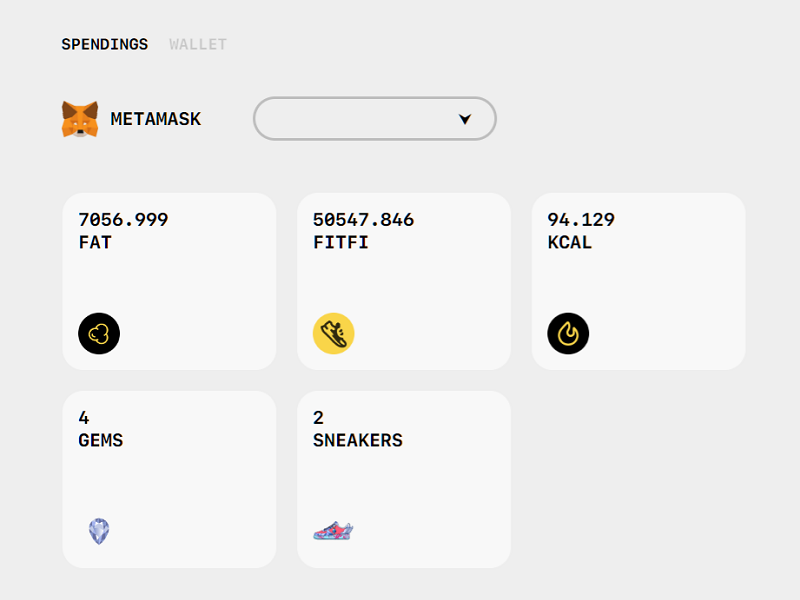
transfer them to a StepApp wallet, called SPENDINGS.
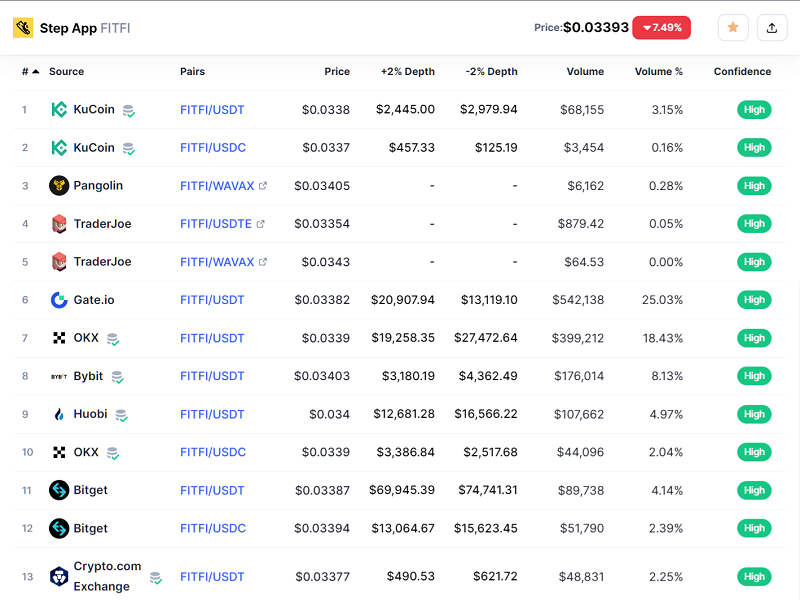
You can buy the mentioned tokens on
multiple websites, those below support sending them to Step Network directly:
- Bybit
- Gate.io
- Huobi
- or any exchanges that can be found on CoinMarketCap website, featuring FITFI or KCAL tokens.
Please note that buying crypto assets mentioned above is not a financial advice and can lead to loss of invested funds. Make sure you know what you are doing while investing in crypto assets.
Connect your wallet with StepApp Spendings wallet
1. Login into StepApp web interface
StepApp application is using a built-in wallet for all transactions made within the app. To be able to
make transactions, you need to have tokens available in the app itself: you can buy tokens in app, which
is quite expensive or alternatively you can buy them on exchanges mentioned above and send the tokens
between your Metamask wallet and StepApp wallet easily.
To be able to do so, you need to connect your wallet (i.e. Metamask) with your StepApp account. This
action takes a moment and can be achieved with just a few clicks: go to web.step.app
and login using your e-mail address - the same you've used to created in-app account.
2. Connect your wallet (i.e. Metamask)
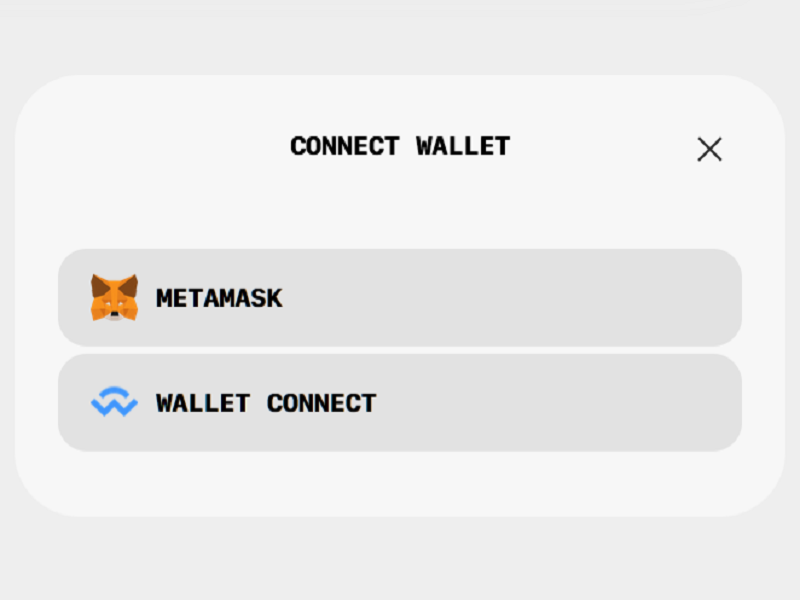
After logging into web interface, you will see your account details. Just select WALLET button from the
top menu, which will show the interface to connect the wallet. Please select appropriate wallet and
accept the next steps: you will have to fill in the one-time code again from new e-mail message to
confirm address.
Please note that this process is sometimes buggy and may break. Logging out of
web interface and then logging back in will often fix all the issues.
Now you are able to send
tokens between your own wallet and the StepApp in-app wallet easily from within the web interface.
3. Send FITFI and KCAL tokens to Spendings Wallet
Spendings Wallet is an in-app wallet that you can make purchases with when using StepApp. If you want to
buy or level up your Sneaks NFTs, you need to send some FITFI and KCAL to in-app wallet first.
To do so, you need to have the amount you want to send on Step Network. You can send tokens on Step
Nerwork directly from most exchanges, selecting STEP as a desired network and providing your wallet
address.
Then you just need to login into web StepApp interface and select moving your tokens from the
Metamask wallet into Spendings wallet. Please keep in mind that you should not send all
your FITFI tokens, as each sending/receiving transaction costs an amount of FITFI as gas token.
Still need help?
Check Sneaks Guide
If you need to start earning KCAL, just continue reading to Sneaks Guide.
In case of issues, try to contact StepApp support desk
If you still need help, you can visit help.step.app and ask a question to support staff or check knowledge base articles.

